
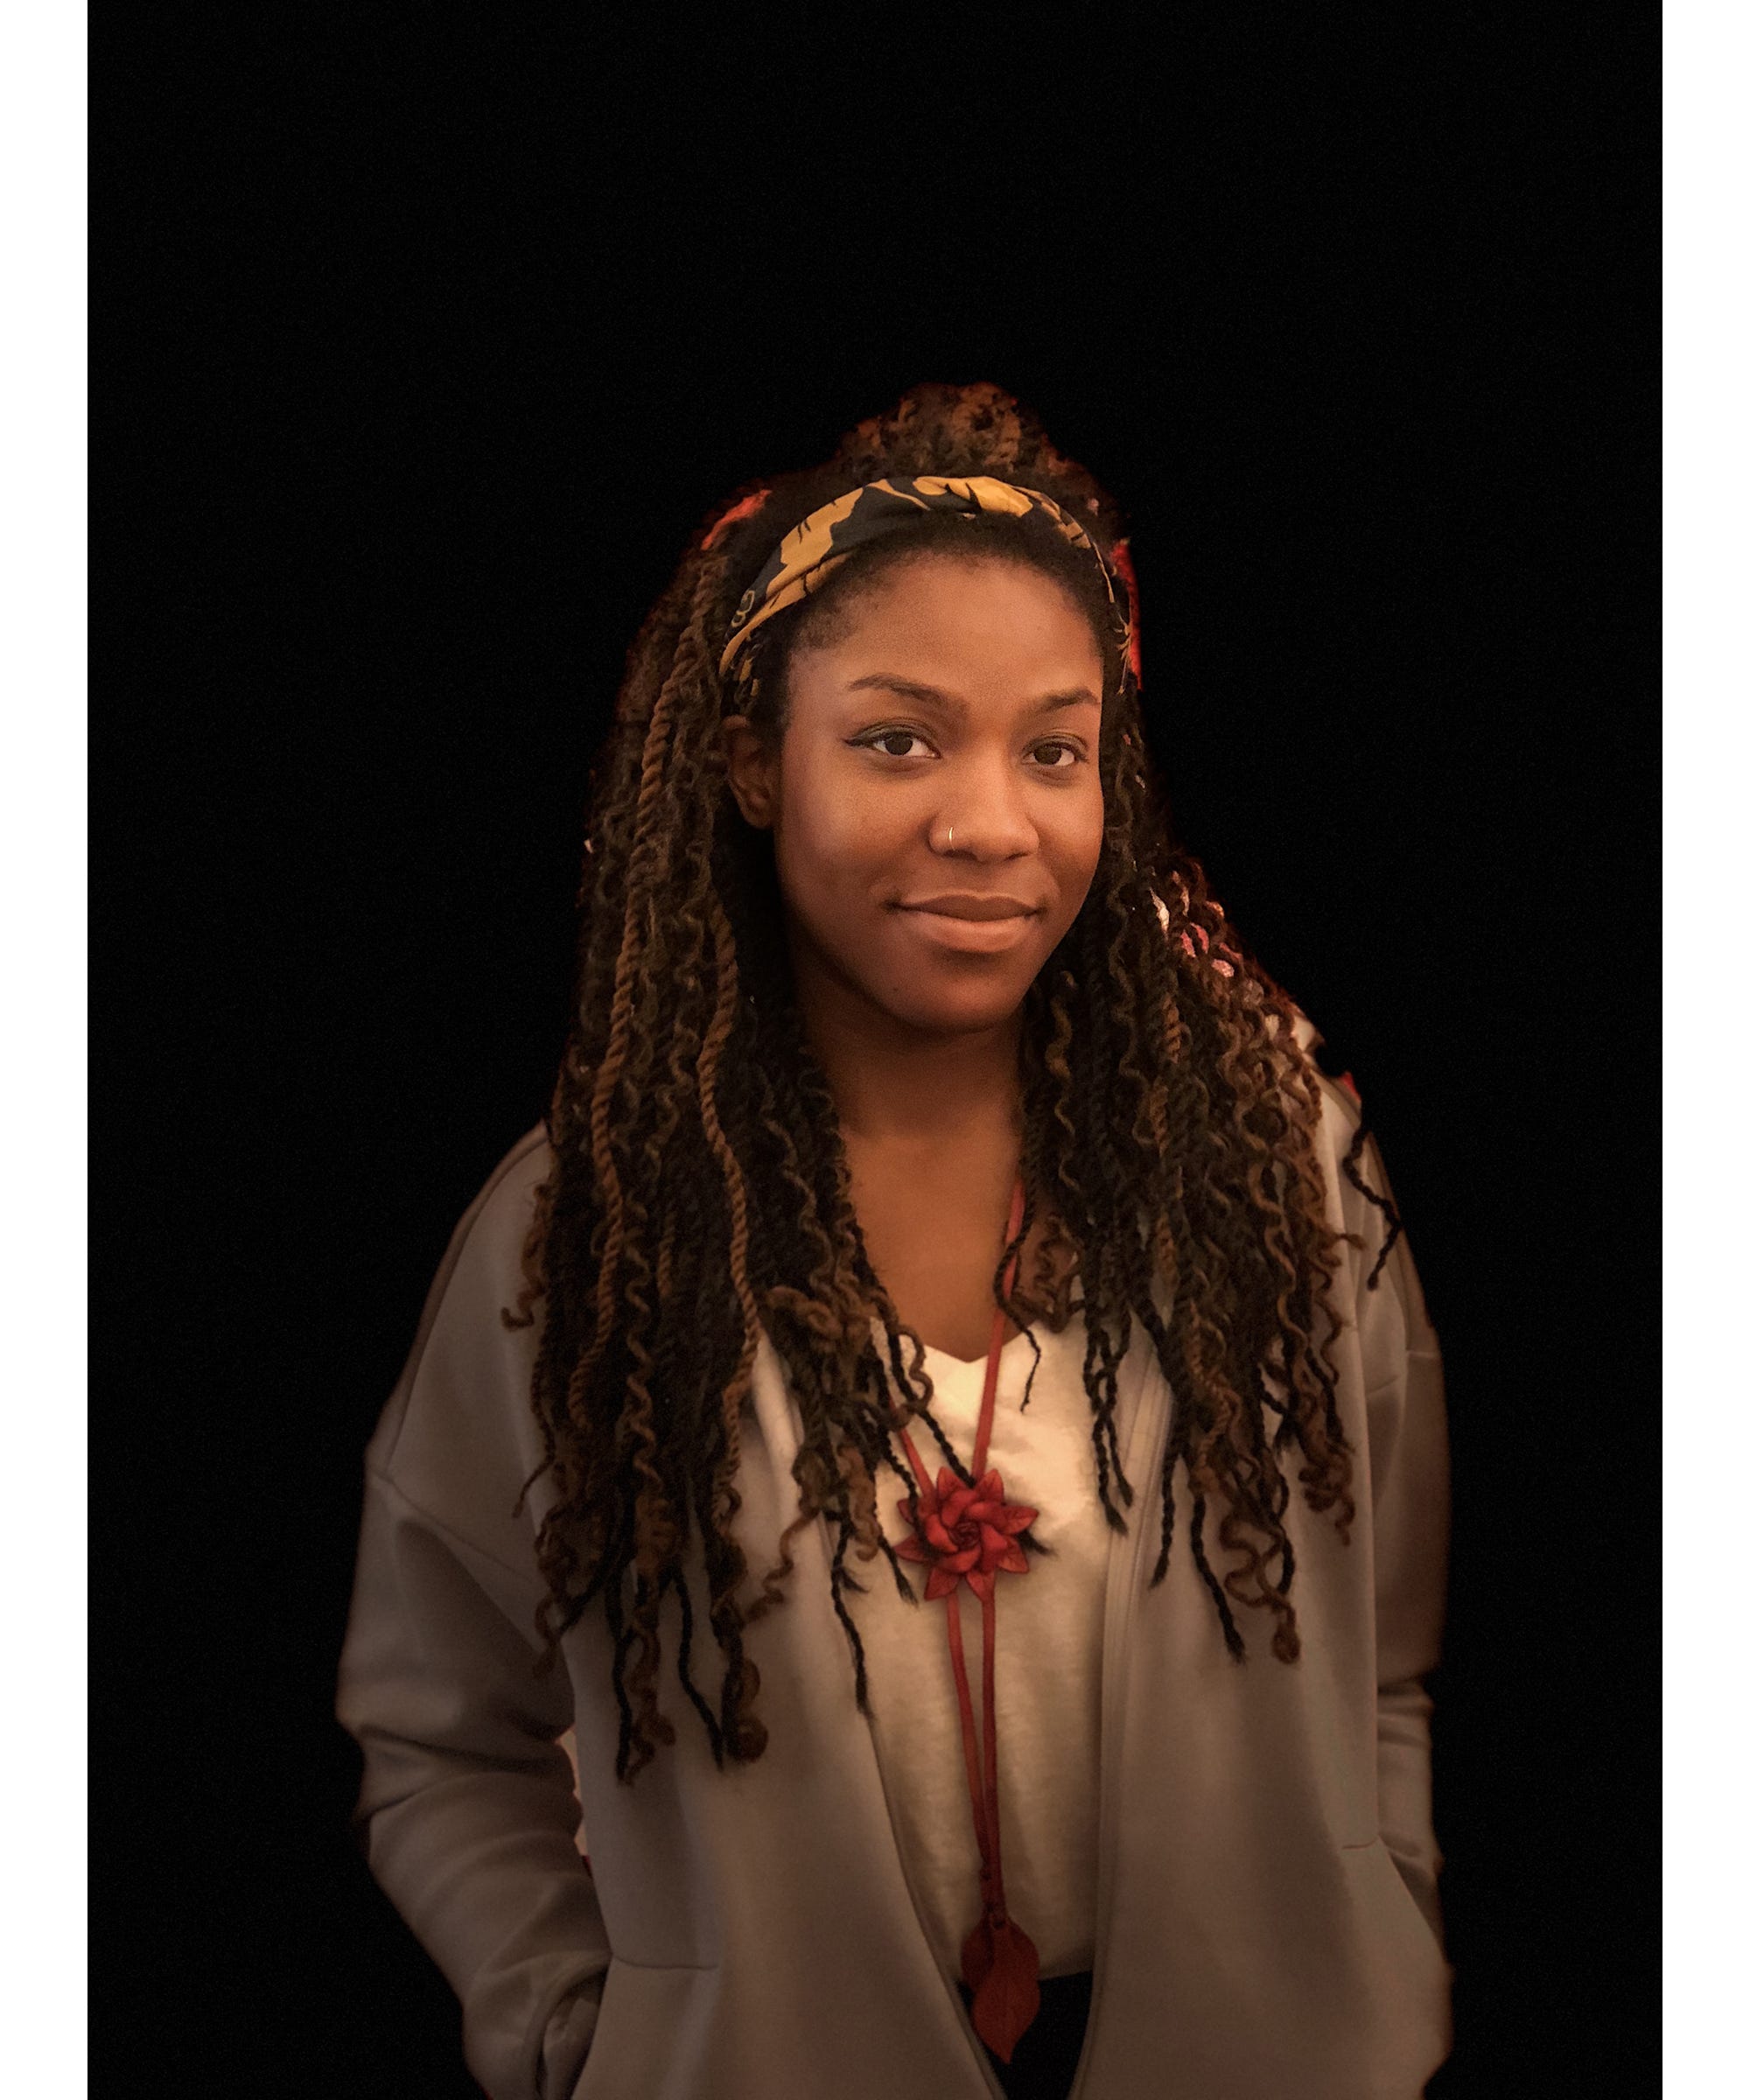
Portrait mode, a tool Apple launched last year in beta with the iPhone 7 Plus, quickly became my favorite camera feature. I try to take almost every picture in portrait mode — even ones that I probably shouldn't — because I love it so much. The reason? Simply put, it makes my amateur photos look fancy.
The mode creates a false sense of depth in an image by keeping your subject in focus and blurring the background. You can use portrait mode on any object, but, as its name implies, it works best with portraits.
With the iPhone 8 Plus (and soon to come iPhone X), Apple is giving portrait mode an update and introducing new portrait lighting. (Like the original portrait mode, these are launching in beta.) Facial landmarking technology looks for human features in your shot and allows you to choose from one of five lighting settings that play with shadows, highlights, and even the background of your image. In the five days I've spent testing the iPhone 8 Plus, I haven't been able to stop using them.
Ahead, a breakdown of how to use the new features and when they work best.

To access lighting effects, open the camera and toggle from photo to "portrait" along the bottom toolbar. If you don't immediately see a yellow bar along the bottom of the screen, look for instructions along the top, telling you to move farther away from or closer to your subject.
Even when you feel like you're at the correct distance, you might still have trouble activating portrait mode. I sometimes found myself moving from side to side, forwards and backwards, trying to get the position just right. However, the mode does seem to work slightly better in low light conditions on the iPhone 8 Plus than it did on the iPhone 7 Plus, where the camera had trouble distinguishing a foreground subject from the background.
When you activate portrait mode, you'll see the background of your photo become blurry and can toggle among your five new lighting options along the bottom of the screen to see how each effect changes the photo you'll take.

The best thing about the iPhone 8 Plus's portrait lighting is that you can add or change them after the fact, while editing your photo. If you took a portrait shot and would rather see it without a blurred background, you can turn off portrait mode. On Samsung's Galaxy Note 8, you can turn on and off its comparable "Live Focus" effect and adjust the amount of background blur while editing your photo.
Switching up the settings on your iPhone 8 Plus portrait mode image is easy: Simply find the image in your camera roll and tap edit. If you don't see "portrait" appear along the top of the screen, tap the photo once. From there you can tap "portrait" to turn the background blur on and off, or, toggle from one lighting setting to the next along the bottom of the photo, just like you do when taking it.
I like that no decision you make is permanent: You can always go back and select another setting, or revert back to the original image if you change your mind after applying an effect. Apple doesn't make a copy of the original image automatically, so if you do want to save one before you start editing, it's smart to duplicate the photo first. To do so, tap the arrow icon along the bottom toolbar and scroll to "duplicate."

Natural Light
Natural light is the first portrait lighting setting and is the default within portrait mode. If you took portrait mode photos with an iPhone 7 Plus, this is the setting you're used to. Your subject will appear in focus with a blurred background. For the best blurred background effect, have them stand at least a few feet in front of the background.

Studio Light
Studio light is meant to replicate the lighting you might get in a professional portrait studio. Your subject's hair, face, and clothes will appear brighter, as well as parts of the background. One caveat here is that this effect looks less natural than others and may appear to lighten skin tone.

Contour Light
Kim Kardashian turned contouring into a household term, and now Apple is hopping on the trend — sort of. The contour light effect is a far easier way to get the makeup technique's sculpting effect sans powder: The effect accentuates shadows and highlights on your subject's face, making his or her cheekbones pop.
Stage Light
This is my favorite, and the most dramatic, of the five effects. When taking a spotlight photo, a circle will appear onscreen to help you frame your subject and direct the light onto their face (it still works well when applied during edits). The background is blacked out, so that only the outline of your subject remains.
Stage light can be a bit tricky to get right. It worked best when my subject was in front of a darker background. When they were near a window or in front of a stark white wall, the sun could disrupt the lighting on their face and the background wasn't fully blacked out.

Stage Light Mono
I don't foresee myself using this effect very often, but it is a fun one to see in action. It performs the same effect as regular stage light, blacking out the background and highlighting your subject, but the resulting photo is in black and white.

Depending on how much you like taking photos, the bells and whistles of the iPhone 8 Plus may or may not be a huge reason to invest in the new phone. But, if you're having trouble deciding between the 8 — which doesn't have portrait mode at all — and 8 Plus, these features should help sway your decision.
These are the photos that will make your friends think you picked up some sweet photography skills out of nowhere, or total strangers ask what DSLR you're using on those Insta shots. Unlike photo editing apps, it makes achieving these shots much easier and intuitive. Portrait mode isn't perfect, and can be finicky to activate, but the lighting effects add a component that takes the year-old camera tool to the next level.
Like what you see? How about some more R29 goodness, right here?
This Sex Toy Company Admitted To Recording Customers, But Said It Was A "Bug"
Jupiter & Venus Will Look Stunning Next Week
Here's What To Do If Your iPhone X Is Struggling In Chilly Temperatures